Wondering about how you can get everything within your reach after you open your eyes on a lazy morning?
Installing a floating nightstand is a feasible solution to anchor necessary things with your rader. A floating nightstand not only serves to hold things but also add to the beauty of the bedroom’s interior furniture design.
How to hang a floating nightstand?
It is very common to hang a floating nightstand by drilling them against the wall through the back panel. Usually, d-hooks are used to hang them. Another alternative is to use the french cleat system which ensures that the pocket holes are levelled without drilling directing through the nightstand.
Table of Contents
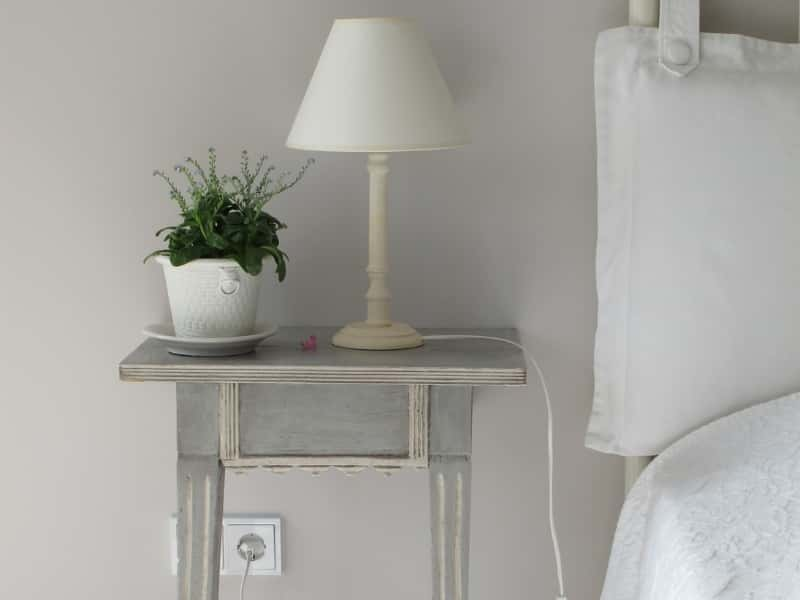
A floating nightstand is a must if you want to put things besides your bed for your own comfort.
If you are wondering about a way to hang a floating nightstand, we got plenty of options for you to hang your floating nightstand.
Three amazing ways to hang/mount a floating nightstand:
Mounting a cleat into a stud to hang the nightstand:
Start with finding the stud in the wall with a stud finder and mark the height that you want to hang your nightstand. Pre-drill into the stud to make it easier to get the screw in.
Lastly, slide the nightstand on the cleat. A screw is supplied at the bottom side that will go into the same stud for added support. This little extra support with a trim head that you can drive through both pieces of the cleat when you are done and finish it off with some matching putty.
Make sure the mounting is strong enough to hold the weight of the nightstand properly.
Applying epoxy to hang a nightstand:
Before getting started, place the nightstand on. Stool that is proportionate to your bed’s height. Make sure you place it against the wall to the level of your bed.
Start applying epoxy and put pressure on the nightstand. Continue doing this for the rest next 10 to 30 seconds. Through the braces, insert two screws inside the nightstand and your Job is done!
Attaching the floating nightstand against the wall:
At first, you need to take off the drawers. Then start drilling numerous holes into the backside of the floating nightstand. A piece of advice will be to make sure that you are drilling into the wall bracket. Avoid using the wall instead.
After you have used screws to secure your floating nightstand into its place, remember to put the drawers or storages back in. And your DIY floating nightstand is all done and ready to be used.
How to make a DIY floating nightstand?
Nightstands have become a necessity as an item of bedroom furniture to keep necessary things for finding things even at a minor inconvenience. A floating nightstand has now replaced all the nightstand having four legs in the market.
Without even doing extra labour, you can build a DIY floating nightstand in your home.
Required tools-
- 1 Kreg screw
- Grit sandpaper
- Paint or stain
- Polyurethane
Six steps in which you can easily mark a DIY floating nightstand:
Chopping wood and making studs:
Chop your wood with your preferred dimensions. For example, height-1”, length-10”, breadth-18”. With studs, you can mark your 17” board where they will hit the stud. Two or three pocket holes will suffice on your board should there be no studs.
Always remember to pre-drill:
Always use a drill machine that is comparatively smaller than the screws you are using. Try to drill the bottom four corners of your floating nightstand with it.
Later on, you can use a larger drill machine to fill over the holes but make sure the depth doesn’t exceed more than ⅛ to ¼ inches. The larger hole will always be on the same side of the pocket holes.
Using grit sandpaper:
You might be wanting a smooth surface so that it doesn’t hurt any children if there are any in your home. A high grit sandpaper is recommended to use in the first place because it ensures a flawless and smooth surface.
Staining the nightstands:
Start painting your nightstands while collecting and assembling the pieces. However, you can refill the pocket holes with a wood putty stain after you collect the wood pieces.
Optional step ( Inserting an outlet):
To determine the size hole, take measurement of your outlet designs to cut it into a proper size. You can either measure it on cardboard to use it as a guide or on the upper side of your nightstand-either way will work.
It will be very convenient for you to visualize your nightstand’s position in the future if you plan it on paper or cardboard.
Hang your floating nightstands:
Choose a corner right beside your bed where you want to hang your nightstands. The most common rule is the hang the nightstands 2-6 inches higher than the floor.
If you couldn’t unfortunately follow this rule, there’s nothing to worry about because you can hang it to your choices of height recommendations.
Once you complete the above six steps, your DIY floating nightstand will be ready. However, you will be working with sensitive tools which can cause injury if not kept in a safe place. Always keep the tools in a place beyond the reach of your kids.
What are the dimensions of a regular floating nightstand?
The regular domestic of a floating nightstand is 24 to 28 inches in height, 11 to 15 inches in width. They are designed and a built-in way to match the regular height of a bed of 25 inches.
However, always make sure to position your nightstand above 2 inches from the floor or mattress which will help you to reach the top part easily.
How to build a headboard with a floating nightstand?
You can easily build a headboard with a floating nightstand from one sheet of plywood. Start with ripping a portion of plywood for the cubbies, one for struts and two for cleats
The next step is to milter one edge of the cleats into 45 degrees and then lay out the struts and cleat on the headboard. Then glue the joints.
After you cut the cubbies and fasten the cubby cart, attach the cubbies to the headboard and your work is done.
How to make a DIY floating nightstand with light?
If you want a fancy DIY floating nightstand with light, all you have to do it install a power supply that can help the light source to enlighten the room. Get a switch and connect. it to the main DC connection of your power supply and your job will be done.
How to make a floating nightstand with a drawer and shelf?
It’s very easy if you want to make a floating nightstand with a drawer and shelf with wood pieces.
The drawer dividers are going to be attached to the bottom of the nightstand by chopping the wood pieces at 45 degrees. Similarly, attach the shelves by making spaces beside the drawers.
How to make a floating nightstand with a USB or charging station?
If you are considering creating a nightstand charging station, then at first gather a USB or a charging station supply. Then after drilling holes for the power strip cord, attach the strip to the nightstand.
As soon as you plug your devices into your charging station, your desirable nightstand will be ready.
As technology and science advance with a new surprise every other day, daily luxuries become a necessity like a hanging nightstand. We often keep things at a particular location but we tend to forget things at the time of a necessity.
In that situation, keeping things on a nightstand will always be within your reach. Should you have any questions, never hesitate to reach out to us. We are just a knock away to answer your calls.